Start with the surrounding colour
The tool detects a background shade when you import the image. Pick another point on the artwork if needed, then adjust how closely similar background shades are matched.

Free the illustration from its plain background.
Keep the artwork you need and remove the plain colour around it. Protect enclosed details, adjust the edges and make a transparent PNG ready to use in another design.
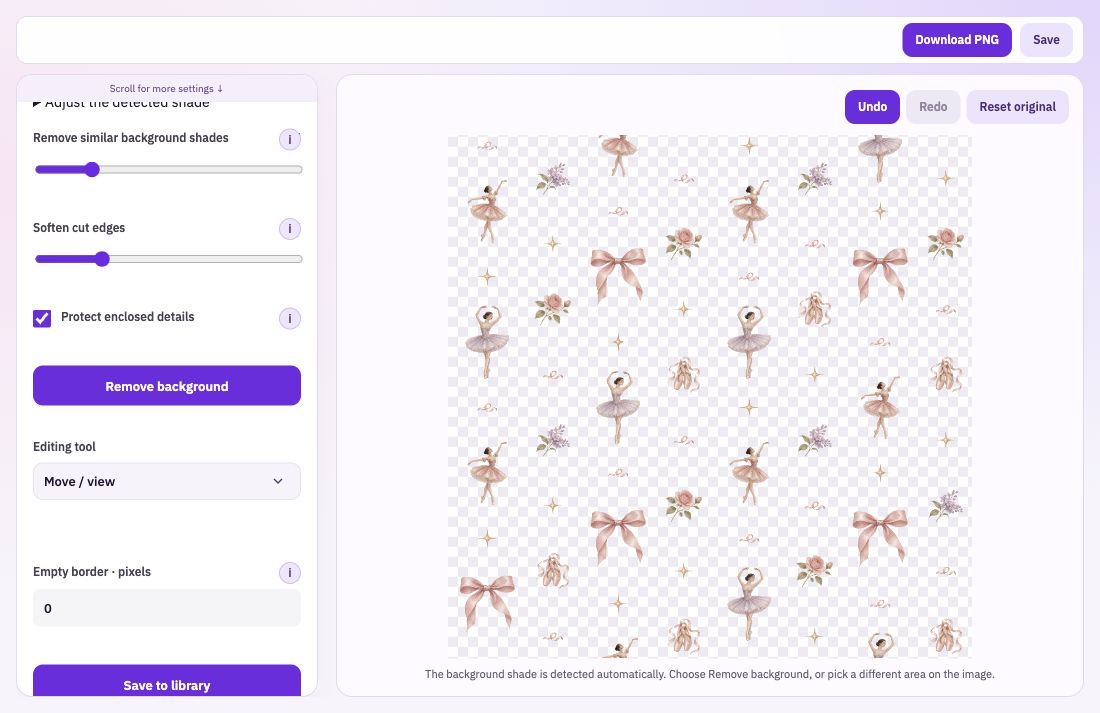
The tool detects a background shade when you import the image. Pick another point on the artwork if needed, then adjust how closely similar background shades are matched.
Keep the outside-in removal option on when light details inside the illustration should remain. Compare the result carefully if the subject touches the background in several places.
Soften a hard cut edge when appropriate, erase leftover fragments or restore details from the original. Undo and the original reset help you compare the effect of a change.
Choose the image you want to prepare and check the detected background shade. Use a clear plain-background source for the most controllable result.
Adjust the match, remove the background and inspect the delicate parts. Use erase and restore for local changes rather than making every setting more aggressive.
Download the PNG or save it to your Library. Use the prepared illustration in Pattern Creator, Stamp Studio or another composition.
A pale fringe can be hard to see against white and obvious against a dark background. Place the prepared illustration on a contrasting ground in the next design step, and check for missing fine marks or leftover background before making the final repeat.
Bring: Artwork on a plain background.
Download: Transparent PNG.
Import your image and choose the background colour. Adjust the removal and protect enclosed details. Check the edges and download the transparent PNG.