Choose how the mark is made
Ink mode uses dark marks on a light background. Sketch develops outlines and detail. Silhouette uses the opacity of transparent artwork to create a solid shape.
Make your own stamp brushes for Procreate and Affinity.
Turn your illustrations into stamp shapes for Procreate and Affinity. Refine the silhouettes or linework in Vivid, then create reusable brushes in your drawing app with the included PNGs and import instructions.
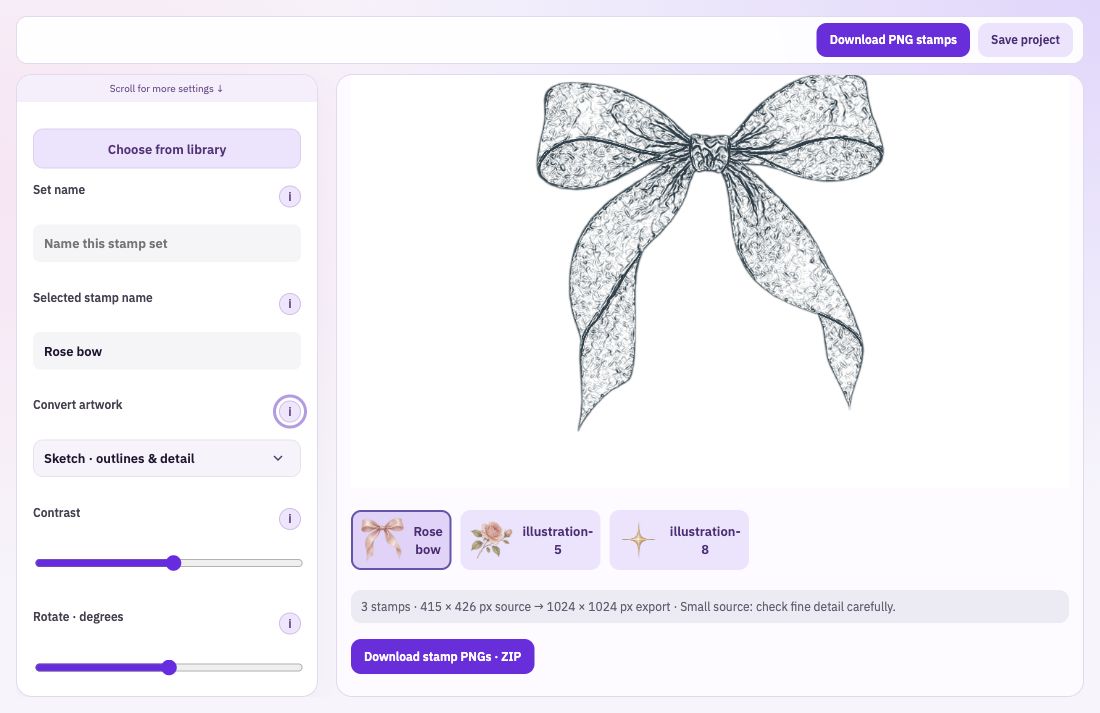
Ink mode uses dark marks on a light background. Sketch develops outlines and detail. Silhouette uses the opacity of transparent artwork to create a solid shape.
Name the selected stamp, adjust contrast, rotate it or invert light and dark where needed. Compare delicate lines and enclosed spaces as you make changes.
Add multiple illustrations, choose a square download size and set a preview ink colour. Download the transparent PNGs together and save the stamp project for later changes.
Add your source images and give the set a useful name. Transparent motifs work well for silhouette treatments; clear dark drawings suit Ink mode.
Choose the conversion, contrast and orientation for the selected stamp. Check fine lines at the chosen output size.
Choose your app in the download window. Use the Procreate PNG as a Shape Source, the Affinity PNG as an Intensity Brush, or the Photoshop PNG to create an .abr brush for Adobe Fresco.
Too much contrast can remove a delicate line; a filled silhouette can close spaces that made the drawing distinctive. Compare the conversion with the source and choose an output size suited to the detail already present in the image.
Prepare the artwork once, then create a stamp brush in your drawing app. Choose your app when you download. You receive only the PNG format for that app: individual PNG images, or an optional ZIP with instructions.
Use the white-on-black PNG as your brush’s Shape Source. Import it in Brush Studio, adjust the spacing and start making individual impressions in your chosen colour.
Procreate import guideCreate a New Intensity Brush from the transparent PNG. Choose your ink colour and spacing in Affinity, then save your reusable stamp in a brush category.
Affinity import guideUse the Photoshop PNG to define a brush, then export it as an .abr file. Import that brush into Fresco’s Pixel brushes. This route requires Photoshop.
Fresco import guideYour download also includes transparent coloured PNGs for placing the stamp directly into a composition.
Bring: One or more illustrations.
Download: Your chosen PNG format for Procreate, Affinity, Adobe Fresco / Photoshop or transparent artwork. Save each stamp separately, or choose an optional ZIP containing only that format and its instructions.
Add your artwork. Choose a silhouette or linework treatment. Review the shapes and download the source images.